Indoor Seed-Starting
Posted in Gardening Tips on April 13 2015, by Sara Katz
Sara Katz is the Community Horticulturist for Bronx Green-Up, the community garden outreach program of The New York Botanical Garden.
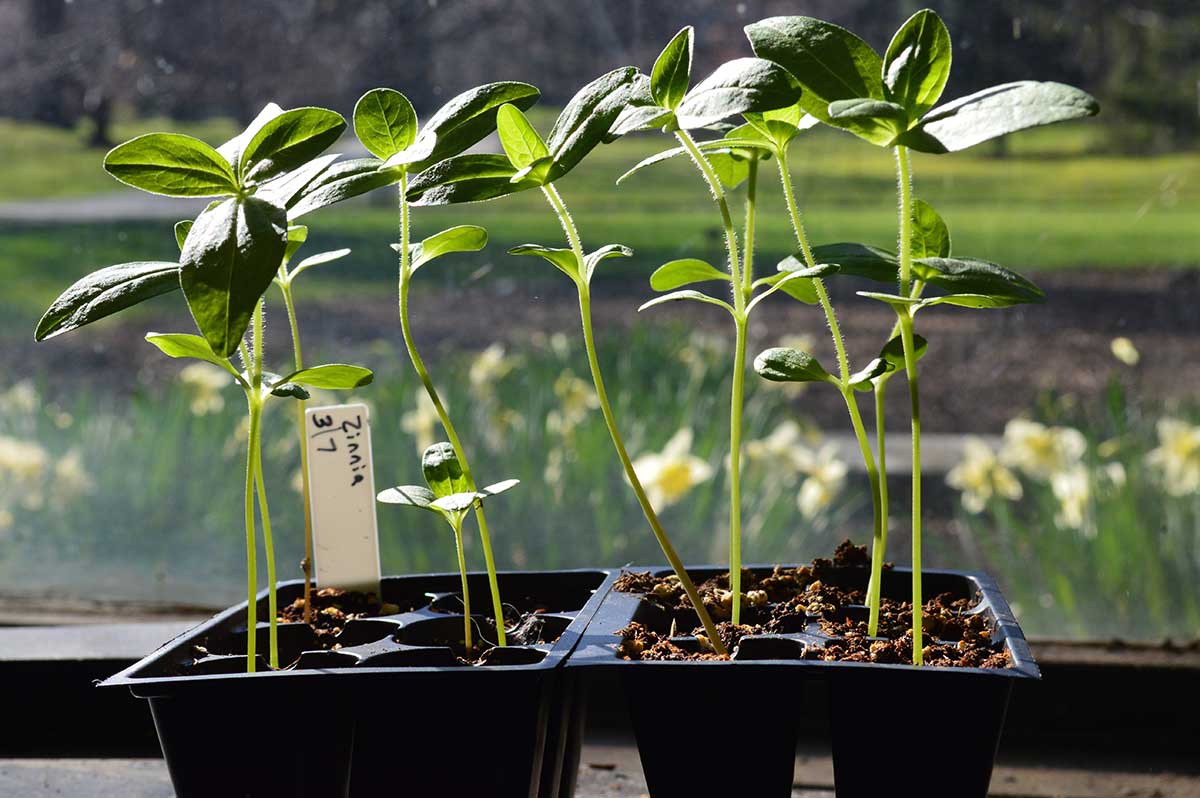
Now is the perfect time to start vegetable, flower and herb seeds in a sunny window indoors. You’ll get a jump-start on the growing season. You’ll save money starting from seed rather than buying transplants. You’ll grow what you like, whether heirloom, organic, or culturally-relevant crops you can’t find at the grocery store. One of my students, a Harlem community gardener, brought fuzzy cotton seeds to Bronx Green-Up’s Grow More Vegetables class. She’ll grow cotton to demonstrate the agricultural heritage of her ancestors.
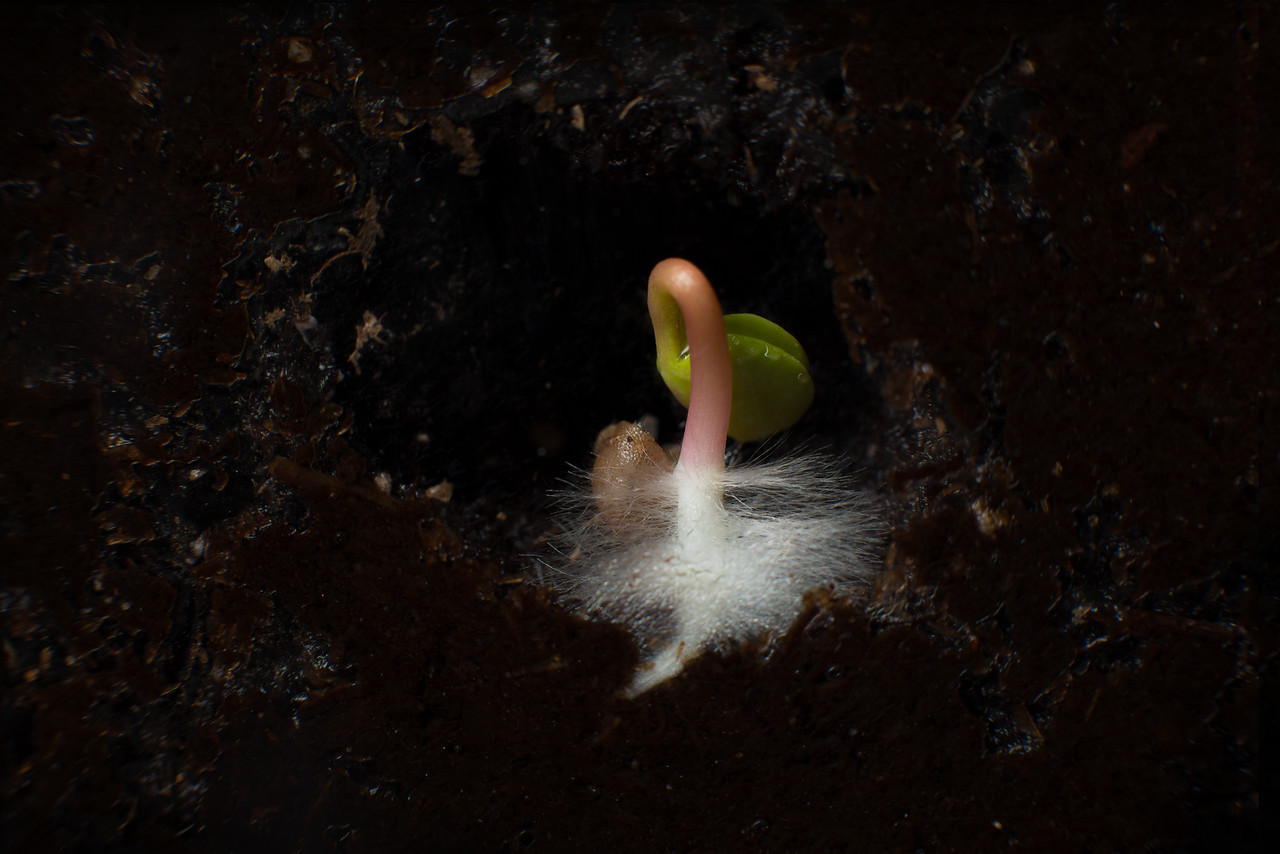
Check out this time lapse of a radish seed sprouting, courtesy of Jacklyn Russell and Walker Howland:

Here is a quick guide to indoor seed-starting:
Materials
- Seeds
- Seed-starting mix
- Seed-starting tray without holes
- Containers with holes in the bottom for drainage
- Humidity cover (you can use plastic wrap)
- Labels
- Watering can and spray bottle
- Light —fluorescent light works best; a sunny window works just fine and uses the sun’s energy
Seed-Starting Steps
- Prepare seed-starting mix by moistening it. The mix should be moist like a damp sponge.
- Fill containers with mix, making sure to fill each cell. Using your fingers, press down on mix while being careful not to pack too tightly.
- Prepare seed if necessary. Follow the directions that are listed in the seed package. Some seeds need to be scarified or stratified. Scarification is when you scratch the seed coat so it can more easily absorb water. Stratification is exposure to either a cold or hot period. The instructions on the seed package will specify the appropriate amount of time.
- Using your fingers, make holes in the soil of each cell to the correct planting depth. If there are no recommendations on the back of the package, the general recommended depth of the hole is at least 2 to 3 times the width of the seed. Space the seeds according to the seed packet instructions.
- Put seed into the holes and cover with the appropriate amount of soil to top it off.
- Label your trays. The label should include the name of the seed, the date you planted it, and the day it germinates.
- After everything is labeled, place the containers into a second tray, the bottom-watering tray. (You will water the seedlings from this tray once the plant has developed its first true leaves. True leaves resemble the leaves of a mature plant.)
- Place the humidity cover over the seed-starting tray. You can either place newspaper over the top of the humidity cover or place the entire tray in a dark place. Seeds need to be in the dark until they germinate (with a few exceptions, like lettuce). Once they germinate, they need light to start growing. Remember to remove the cover after they germinate.
- Make sure your seedlings receive sufficient light. It is best to provide supplemental artificial light. Standard fluorescent tubes work well if plants are kept close to the light. You may also place your plants close to a sunny window (southern exposure is optimal).

Timing
Remember that timing is key! Many gardeners start their seeds too early, eager to see green as early as possible, which may result in overly leggy transplants.
Time needed to grow your seedlings indoors = Number of days for the seed to germinate, or sprout + Number of weeks the plant grows into a sturdy transplant (often found on your seed packet) + About 1–2 weeks to harden off the transplant (get it used to the outdoor elements)
Watering
Before the seedlings develop their first true leaves, simply use your spray bottle to mist seedlings from the top and keep the soil moist. You are trying to maintain a humid environment.
After true leaves have appeared, water plants from the bottom ONLY. Pour water into the bottom tray; the seedlings will absorb the water. Be sure the water is room temperature; cold water can slow down the germination and growth process. Keep the trays moist, but not too wet.
Fertilizing
Do not fertilize your seedlings until they develop their first true leaves. When fertilizing, use only half the recommended dose. Give diluted feedings about every two weeks.
Seedling Disease
The warm, humid conditions that promote germination and seedling growth are the same conditions that foster a fungal disease called “damping off.” This can happen if seeds or seedlings are over-watered, too crowded, or poorly ventilated. When damping off occurs, the seeds tend to rot or seedlings shrivel and collapse on top of the soil. If this happens to your seeds, it’s best just to throw them away and start over with new seeds. If you plan to use the same container, sterilize it first to be sure that there is no trace of the fungus.
Getting Ready for the Garden
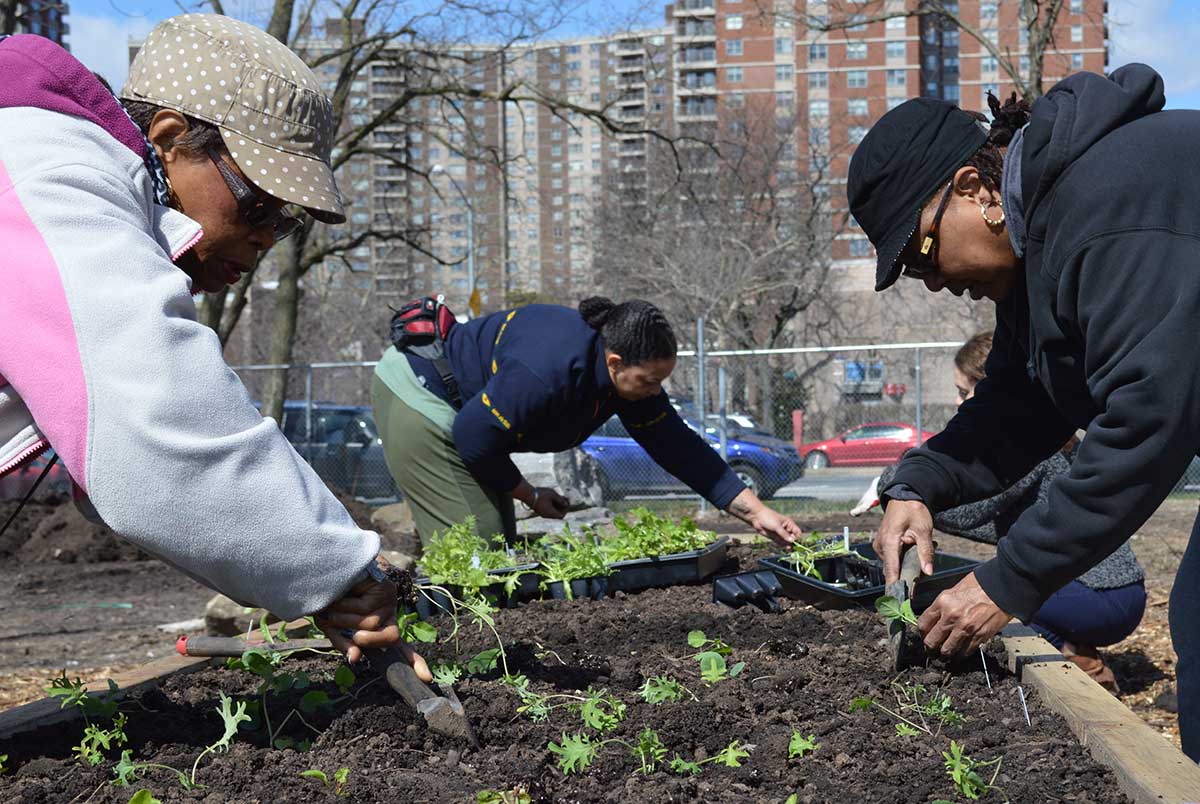
After the danger of frost has passed (in New York City this is generally by May 1), it is safe to transplant your seedlings into the garden. Since they have been protected and sheltered indoors in warm temperatures, it is important to first get them accustomed to outdoor temperatures with a process called hardening off. Start by bringing the plants outdoors for two hours per day and gradually increase the time to a full day over the course of a week or so.

Transplanting
Transplant the seedlings to a larger container when they become overcrowded. Crowded seedlings will be weaker, susceptible to disease, and not uniform in size. Water seedlings well before transplanting; this helps limit the shock and ensures that the seedlings will be turgid (sturdy).
Into the Garden
The day before transplanting the seedlings, water them well. Remember that the seedlings are still fragile; transplant them in mild conditions—low light, mild temperature, and low wind.

