Brush up on your pumpkin carving skills
With the help of expert sculptor—and the winner of Food Network’s Halloween Wars—Adam Bierton.

Explore everything the Garden has to offer this season, from pumpkin carving tips to fall recipes to decoration ideas. Keep checking back for more on everything cucurbit—the pumpkin family name.

Try choosing a pumpkin with a healthy, dark-green stem.
Check for mold growth on the stem and on the base of the pumpkin.
Select a pumpkin with smooth skin for an easier carving process.

There are three main styles of pumpkin carving:
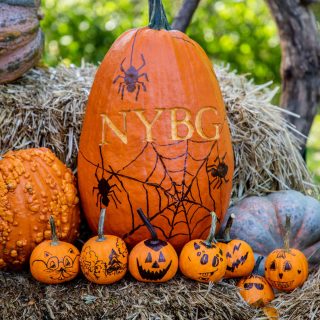
Jack-o’-lanterns are the most popular, and made by cutting holes into the pumpkin.
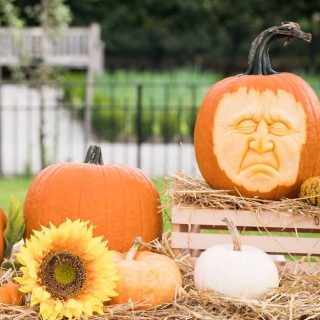
Etching is when the skin is removed, but the rest of the flesh remains. Sculpting takes etching a bit further by carving into the flesh.
Tip: If you are stumped, let the shape of the pumpkin guide your design–a silly face might suit a lop-sided pumpkin, and a flat-sided pumpkin might be a great canvas for a Halloween greeting.

Make sure to have an adult present while carving your pumpkin.
Get creative with the tools you use–an ice cream scoop could be the perfect size for eyes.
To get clean lines, keep your carving tool level while cutting through the pumpkin.
Tip: Make pumpkin carving less of a workout and try cutting through the tough skin first, and then slicing through the rest of the shell.

Time it right–carve your jack-o’-lantern just before you plan to display it, and at most a few days in advance.
Clean your tools–be sure to use clean and sanitary tools to prevent bacteria and mold contamination.
Clean your pumpkin–create a mixture of lemon juice and water to spray on the cut areas of your pumpkin during and after carving to prevent mold and bacteria from growing.
With the help of expert sculptor—and the winner of Food Network’s Halloween Wars—Adam Bierton.